Chocolate Cheesecake Thumbprint Recipe
If you’re looking for a a delicious cookie recipe with little hassle, this one may become your favorite. It’s a simple twist on the classic thumbprint cookie which adds a bit more flavor and extra chewy goodness. With only a handful of ingredients needed, you can whip this recipe up with the kids nad grandkids in no time at all!
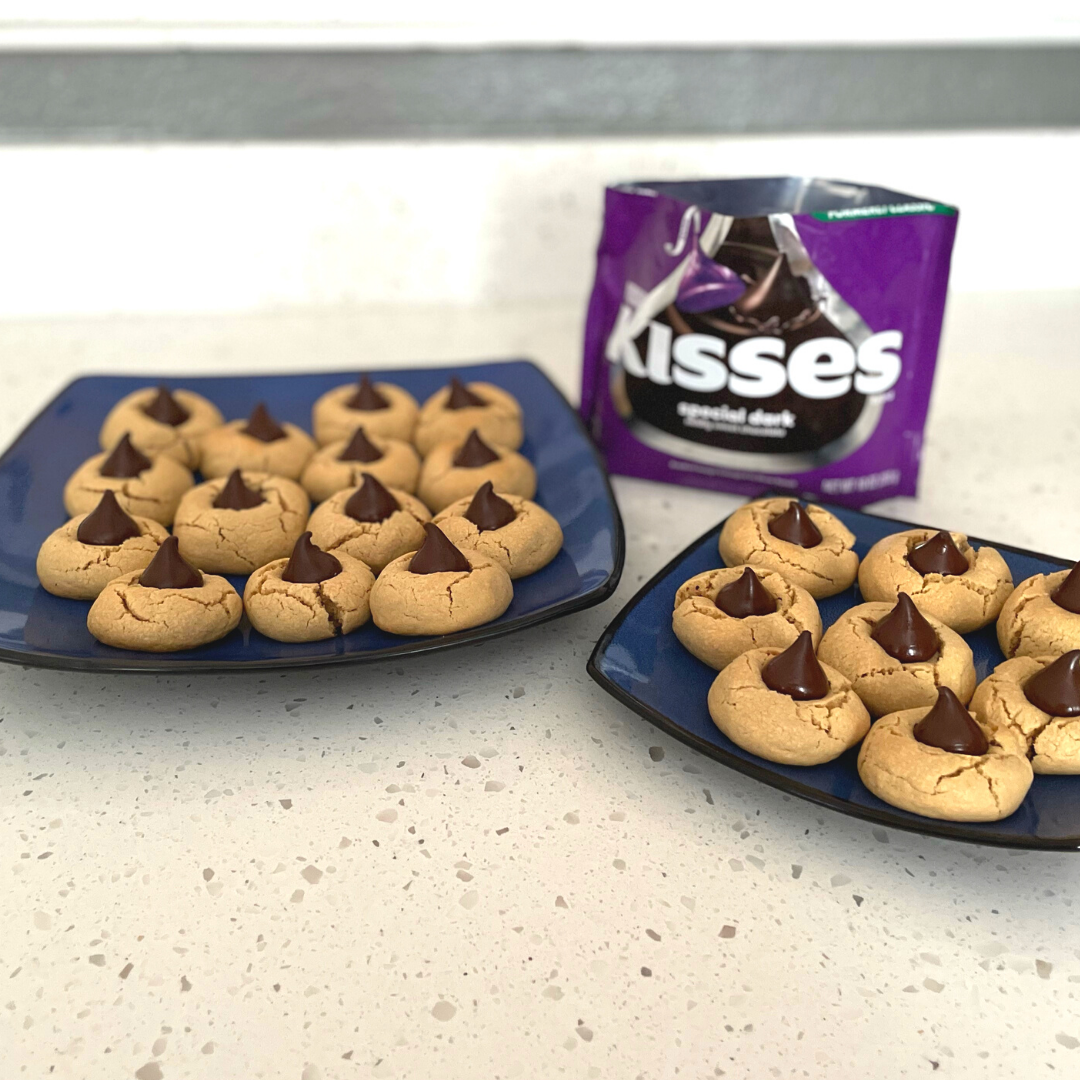
Here’s What You’ll Need:
Ingredients:
- 1 cup and 2 tbsp flour
- 3 1/2 oz cream cheese, softened
- 8 tbsp butter, softened
- 3/4 cup sugar
- 1 bag chocolate Hersey’s kisses (because you’ll need extra to eat while you cook!)
Preparation:
- In your. mixer, add your butter and cream cheese and bland until smooth and creamy
- Add in your sugar nad continue to mix
- Slowly add in a little flour at a time to prevent tiny lumps
- Cover your dough and chill in the fridge for 40-60 minutes
- Pre-heat your oven to 375 degrees
- Roll approximately 1 tablespoon of dough into a ball, place it on the cookie sheet and press the center slightly with your thumb (or two for tiny hands that are helping you in the kitchen)
- Bake for 10-12 minutes
- Remove and let cool, carefully placing a kiss in the thumbprint of each cookie so it slightly melts into the center
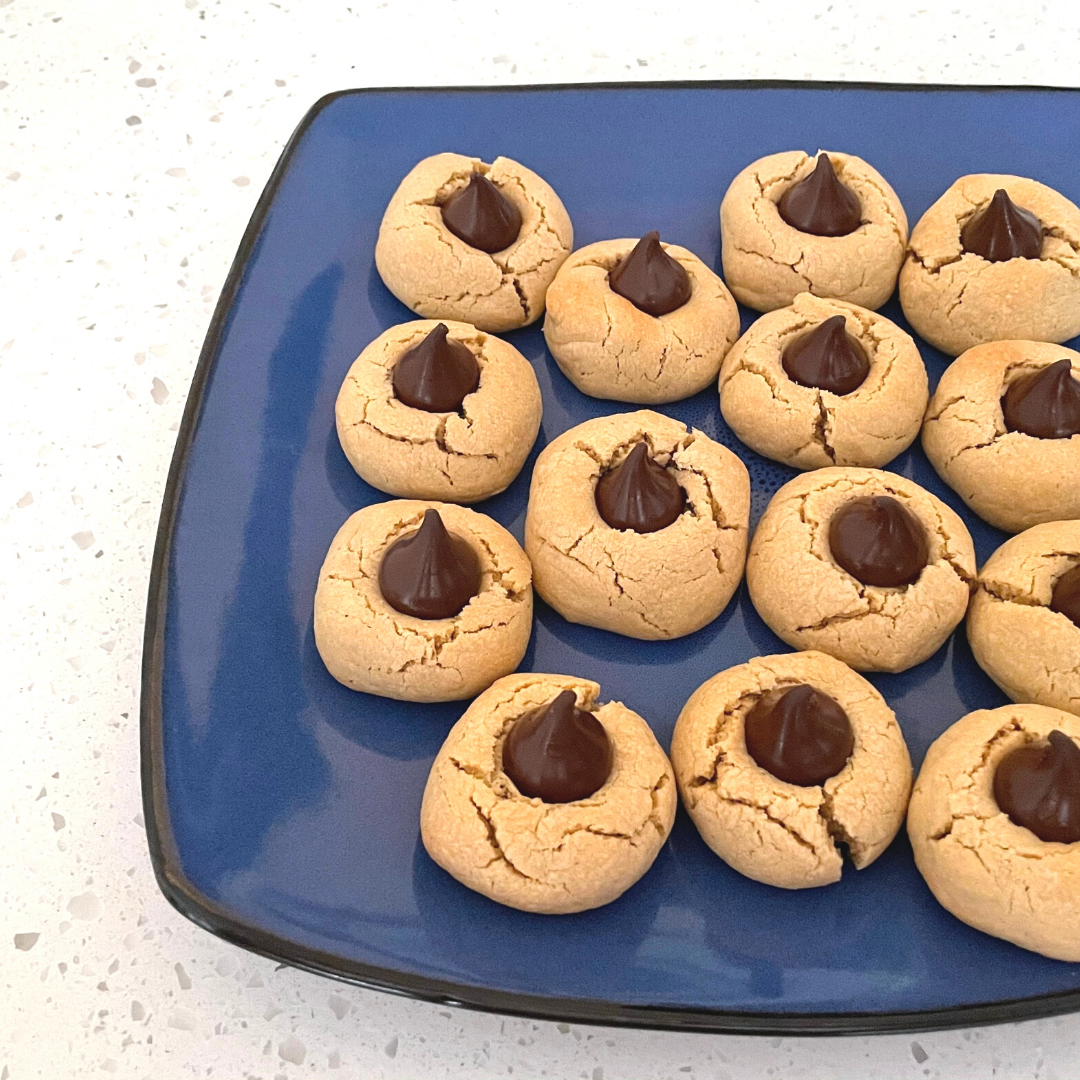
Cookie Recipe Variations
You may know by now this little family of three is all about variations to please our different tastebuds. While this is one recipe that makes everyone smile, I have played with a few options that were just as tasty. One of my favorites was substituting the traditional chocolate kiss for the white chocolate hugs kiss. It was like a white chocolate cheesecake! I’ve also used jams and jellies in the center too. Spoon in a dab before placing in the oven and bake. We’ve also tried half a caramel square and sprinkled it with chopped walnuts just before placing them in the oven.
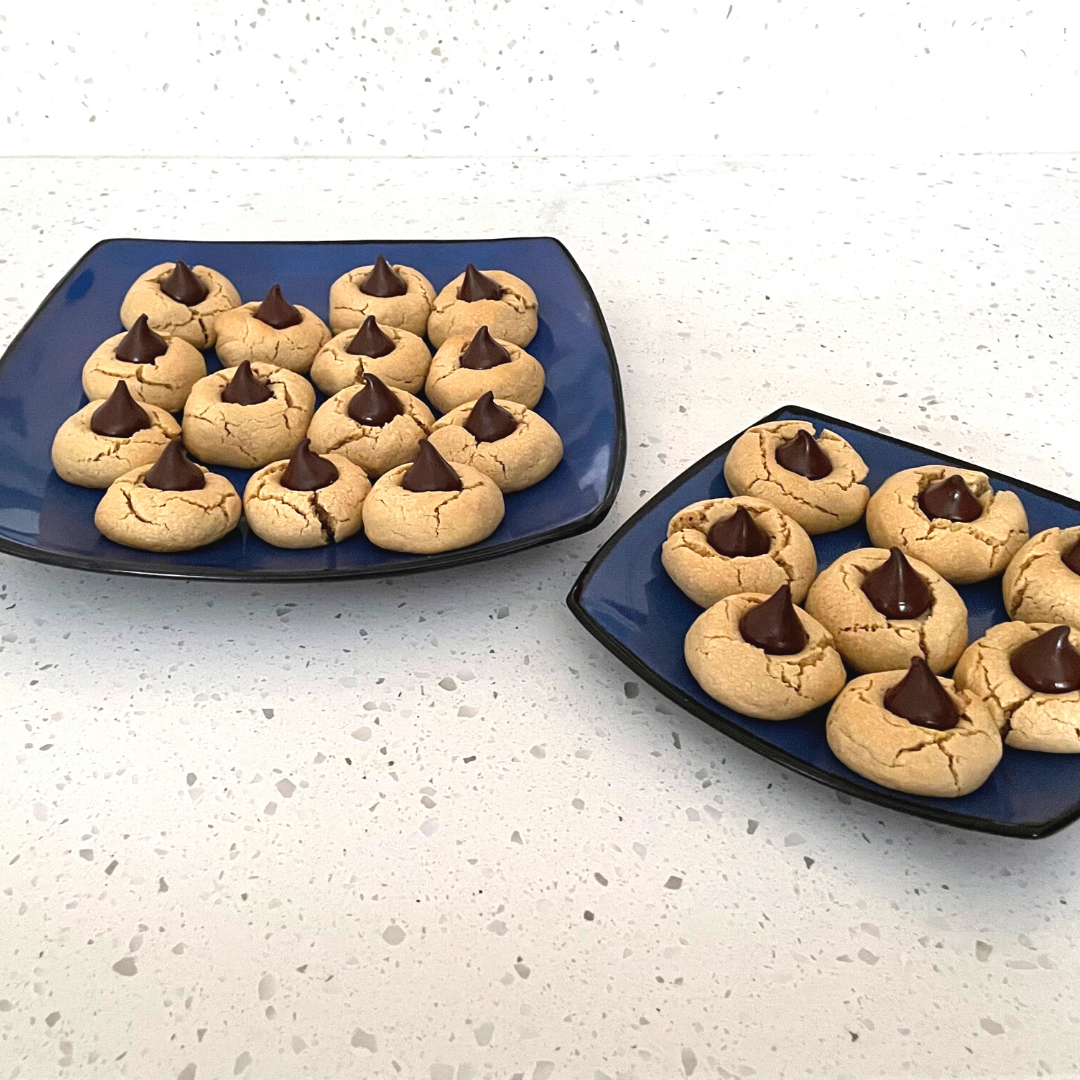
Have fun experiementing with your thumbprint cookie centers and let us know how they turn out!
~ Lisa


