How to Paint a Pumpkin
How to Paint a Pumpkin
I know I said I’m only blogging about cancer awareness this month but I have to share something with you. As the mom of four boys and one girl (who is like her mom and doesn’t have time for crafts) my kids have never surprised me with their crafting projects. At least not until now….
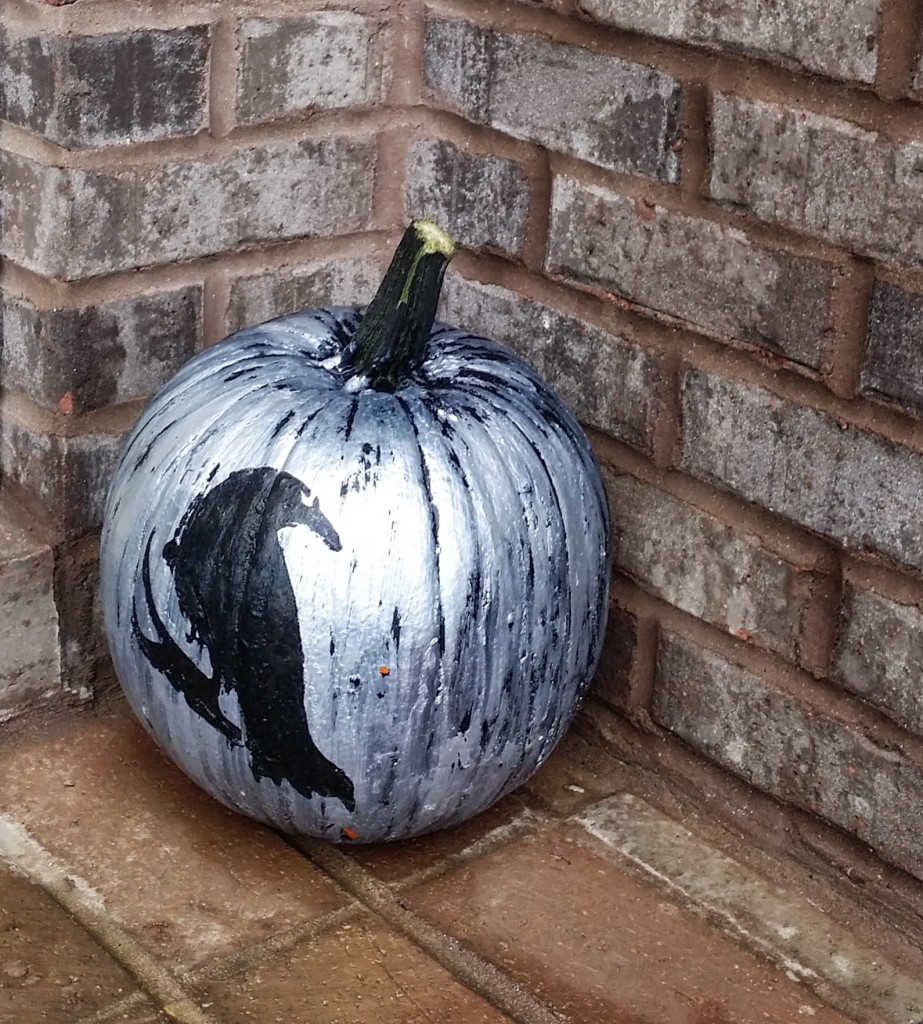
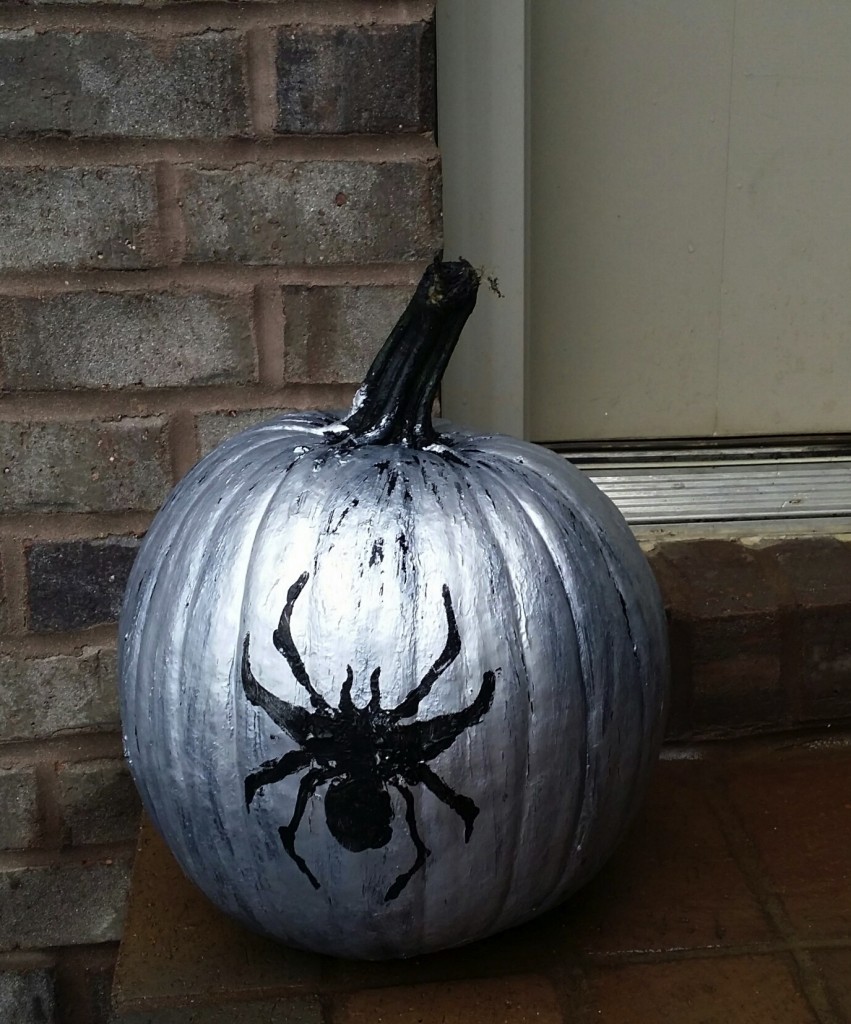
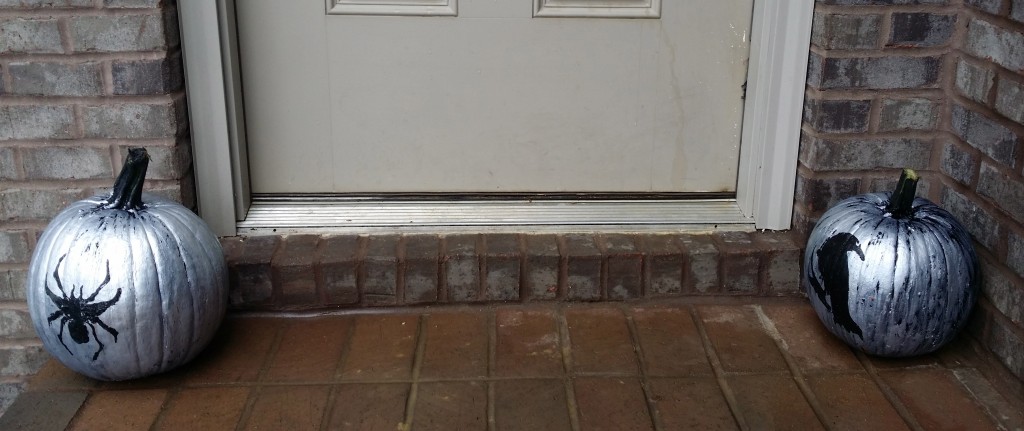
I came home to find some really cool pumpkins on my porch! My son and his girlfriend had decorated them and I loved the results!
Not only are these painted pumpkins adorable, they are so easy to make that you could do this with your children or grandchildren. Kids love Halloween and this is a great alternative to cleaning out the seeds and goo inside a carved pumpkin.
First, they got pumpkins. Then Courtney bought a pumpkin painting kit that included stencils, silver and black paint, brushes and clear crackle paint. Next, they put newspapers down in the garage to keep paint from getting on the floor.
They painted the entire pumpkin black and used a hairdryer to make it dry faster. Then they painted a coat of clear crackle paint over it. After that dried they painted over that with the silver paint.
Next they taped stencils on the pumpkin and some of the leftover black paint to paint the picture on the pumpkin.
“The finished product was supposed to look like the paint had cracked but it didn’t turn out that way,” Courtney said.
I told her I didn’t care. To me they are perfect! They can surprise me with DIY crafts anytime!

